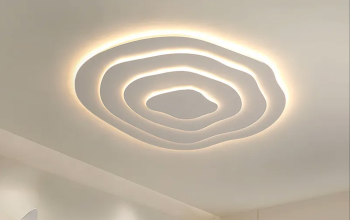

Installing a ceiling light fixture may seem like a daunting task, but with the right tools and knowledge, it can be a fairly straightforward process. In this guide, we will go through the steps involved in installing a ceiling light fixture.
Step 1: Gather the Necessary Tools and Supplies
Before starting the installation process, gather all the necessary tools and supplies, including the light fixture, wire cutters, wire strippers, a voltage tester, pliers, a screwdriver, and electrical tape. Also, ensure that the power to the room is turned off at the circuit breaker.
Step 2: Uninstall the Old Fixture
If there is an existing light fixture in place, it needs to be removed before installing the new one. First, remove the lightbulbs and then the light fixture cover. Loosen the screws holding the fixture in place, and carefully remove the fixture from the ceiling.
Step 3: Install the Ceiling Plate
The ceiling plate is the piece that will attach the new fixture to the ceiling. Hold the plate in place and use a screwdriver to secure it to the electrical box in the ceiling.
Step 4: Connect the Wiring
The wiring for the new fixture will need to be connected to the wiring in the ceiling. First, use wire cutters to trim off any excess wire sheathing. Strip the insulation off the end of each wire by about half an inch. Connect the wires from the fixture to the corresponding wires in the ceiling using wire nuts. Secure the connections with electrical tape.
Step 5: Attach the Fixture to the Ceiling Plate
With the wiring connected, it’s time to attach the fixture to the ceiling plate. Gently tuck the wires into the box above the ceiling plate, then align the fixture’s mounting bracket with the holes in the ceiling plate. Secure the fixture in place with screws.
Step 6: Install the Lightbulbs and Cover
Once the fixture is securely in place, install the lightbulbs and the cover. If your fixture uses a decorative glass or plastic cover, be sure to attach it securely.
Step 7: Turn on Power and Test the Fixture
With the fixture installed and everything securely in place, turn the power back on at the circuit breaker. Test the fixture by turning it on and off to ensure that it’s working properly.
Installing a ceiling light fixture can be a great way to update or enhance the look of a room. While the process may seem intimidating, following these steps can make it a simple and successful task. Remember to always prioritize safety and turn off power at the circuit breaker before starting any electrical work.