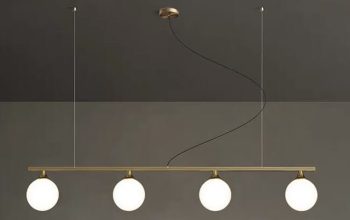
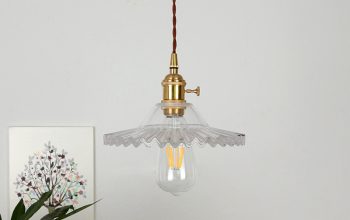
Spotlights are a popular choice for home lighting, especially for those who want to control light direction and create a certain ambiance. If you are planning to install spotlights in your ceiling, this step-by-step guide will help you get started.
Step 1: Choose Your Spotlights
The first step is to choose the spotlights that best fit your needs. There are many different sizes, shapes, and types of spotlights available on the market. You can choose between LED or halogen spotlights, depending on your budget and energy efficiency preferences.
Things to consider:
- Budget: LED spotlights are generally more expensive than halogen spotlights, but they last longer and use less energy.
- Color temperature: You can choose between warm or cool white spotlights, depending on the look you are trying to achieve.
- Size: Spotlights come in different sizes, and it’s important to choose a size that fits the space you want to install them in.
- Shape: Spotlights come in round or square shapes, and you should choose a shape that complements your ceiling design.
Step 2: Plan Your Layout
Once you have chosen your spotlights, you need to plan their layout. This will ensure that they are evenly distributed and provide the right amount of light in each area.
Things to consider:
- Spacing: The spacing between each spotlight should be equal, and they should be spaced out evenly across the ceiling.
- Orientation: You can choose to orient your spotlights in one direction, or you can angle them to create a certain effect.
- Location: Make sure your spotlights are not located too close to any fixtures, such as air conditioning vents or ceiling fans.
Step 3: Prepare Your Tools
Before you start installing your spotlights, you need to prepare your tools. Here are some of the tools you will need:
- Drill
- Wire strippers
- Screwdriver
- Tape measure
- Wire nuts
- Electrical tape
- Wire connectors
Step 4: Install Your Spotlights
Now that you have everything you need, you can start installing your spotlights. Here’s how:
- Locate the spot on the ceiling where you want to install the spotlight.
- Use the template provided with your spotlight to mark the location where you need to drill the hole.
- Drill the hole into the ceiling, making sure to follow the instructions provided with your spotlights.
- Insert the spotlight into the hole, and screw it into place.
- Connect the wires from the spotlight to the wires in the ceiling using wire nuts and electrical tape.
- Repeat the process until all of your spotlights are installed.
Step 5: Turn on Your Spotlights
Once all of your spotlights are installed, it’s time to turn them on and enjoy your new lighting. Check to make sure that each light is working properly, and adjust the direction and angle of the spotlight as needed.
Installing spotlights in your ceiling can be a great way to add additional light to your space while also creating an ambiance. With the right tools and preparation, you can easily install your spotlights yourself and enjoy your new lighting. Remember to always follow the instructions provided with your spotlights and to prioritize safety throughout the installation process.


