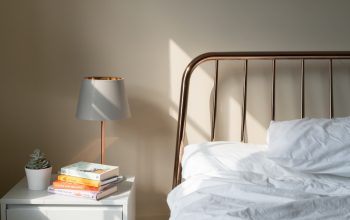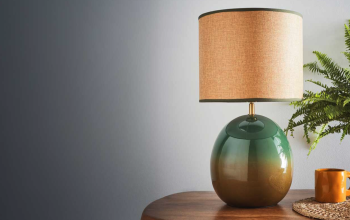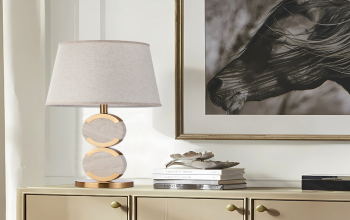
Introduction
Are you tired of your old, boring light fixtures? Updating your light fixtures is a simple way to add personality and ambiance to any room in your home. While buying new fixtures can be expensive, painting your existing ones is a budget-friendly option that adds a unique touch to your space. In this article, we’ll guide you through a step-by-step process of painting light fixtures to help you create a fresh and personalized look for your home.
Step 1: Choose Your Paint
The first step to painting your light fixtures is selecting the right paint. Choose a high-quality paint that adheres well to metal, glass, and plastic surfaces. You’ll also want to select a spray paint that is designed for high-heat applications if you are painting light fixtures that get hot, such as those in a kitchen or bathroom.
Tip
If you’re painting a fixture with multiple parts, like a chandelier, be sure to choose a paint that won’t transfer color onto other pieces.
Step 2: Prep Your Surface
Before you start painting, it’s important to prep your surfaces. Remove any bulbs, covers, or shades from your light fixtures, and wash them with soap and water. Dry them thoroughly before beginning the painting process. Tape off any areas that you don’t want to paint, such as electrical connections.
Tip
To ensure a smooth final result, use a fine-grit sandpaper to lightly sand the surface. This will help the paint adhere better and create a smoother finish.
Step 3: Paint Your Fixture
Now it’s time to paint your light fixture. Hold the spray paint can about 8-12 inches away from the fixture and spray in a sweeping motion. Be sure to cover all areas evenly and let it dry according to the paint manufacturer’s instructions. You may need to apply a second coat for even coverage.
Tip
If you’re painting a plastic fixture, use a plastic adhesion promoter spray before painting to help the paint adhere better to the surface.
Step 4: Reassemble Your Fixture
Once the paint is completely dry, you can reassemble your light fixture. Replace any covers, bulbs, or shades that you removed earlier. Turn on the light to make sure everything is working properly.
Step 5: Enjoy Your New Fixture
Congratulations, you’ve successfully painted your light fixture! You can now enjoy your updated fixture and the fresh look it brings to your room.
Tip
Consider pairing your new light fixture with coordinating paint on the walls or furniture to create a cohesive look in your space.